
Are you still looking for a decorative frame to put on your wall? Well I’ve just made it easier for you by making this step by step DIY. The other amazing thing about this tutorial is that it has just proven that you can still have elegance on a budget.
Most people would just expend energy, time and money on the basic home furnitures like chairs, tables, TV, carpets and lights, and disregard home furnishings like wall frames, paintings, flowers and etc because it tends to look like more time consuming to put together which isn’t. A plain wall makes a home look boring but a well decorated wall simply makes it look organised and stylish regardless of the space.
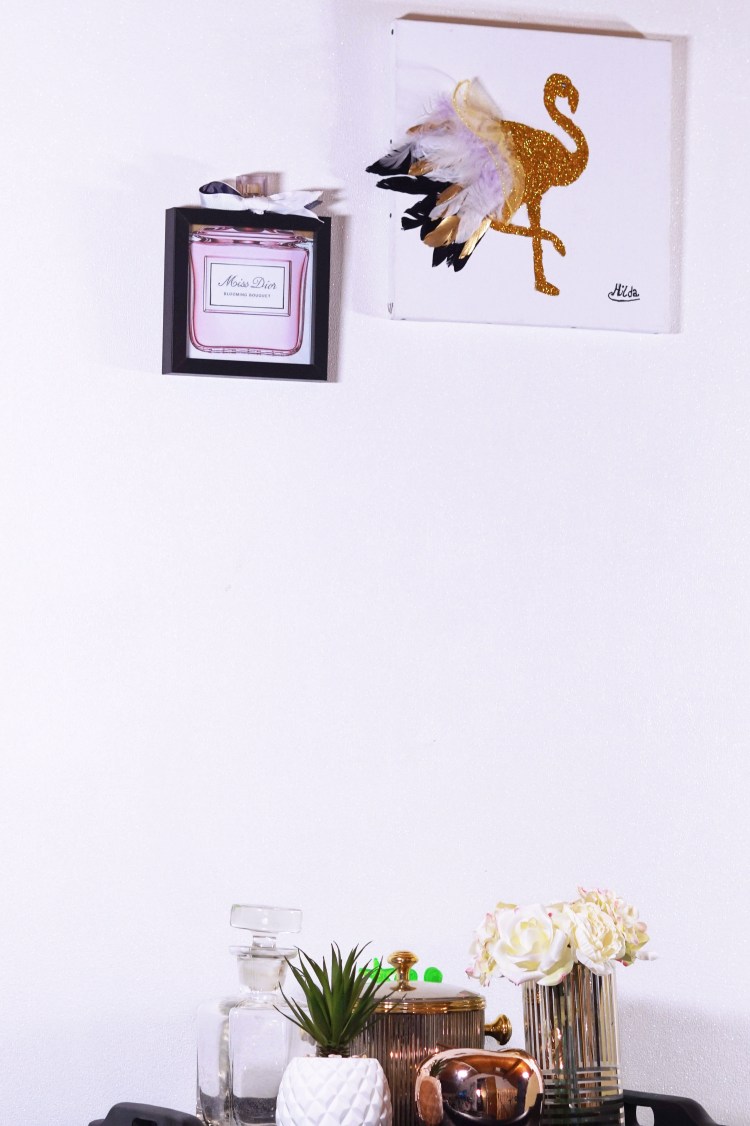
If you’re in the budget team and want a total home makeover, then adding this wall frames can make a huge difference, so let’s jump right into the making.
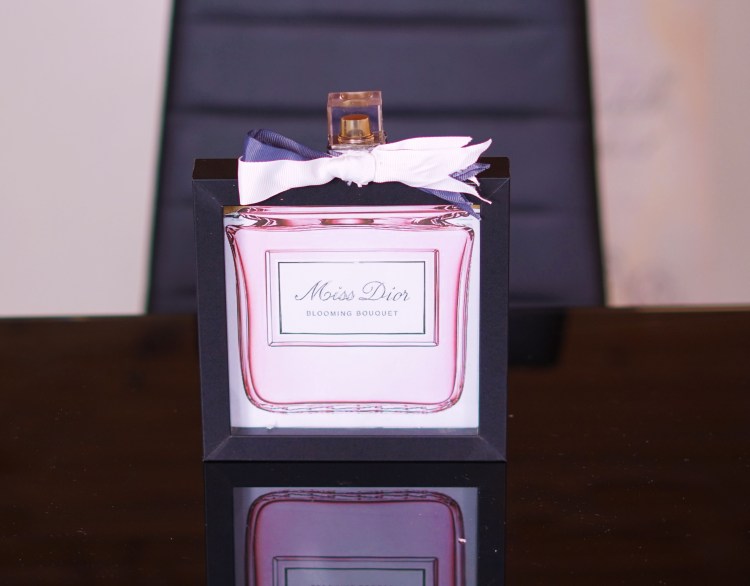
Miss Dior Perfume Frame
These are the supplies you’ll need:
- Frame 14 x 14 (inside)
- Ribbons
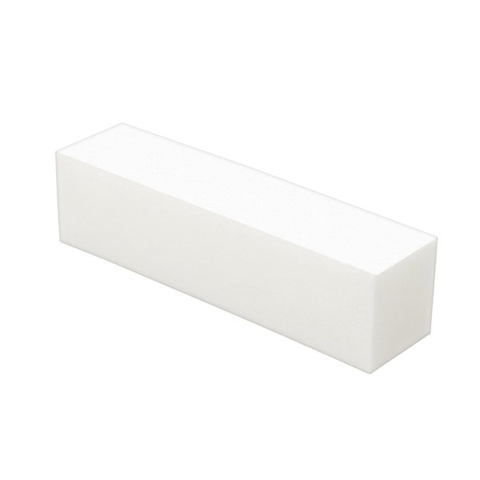
- Nail buffer
- Perfume cover
- Frame hook
- Glue stick
- Glue gun
- Tape measure
- Scissors
To make the Miss Dior Perfume Frame you’ll simply go to Google or Pinterest to search for a printable picture and then save it on your computer, once saved print it out but before that, you must consider the size of the picture make sure it’s not over stretched, as this will increase the pixels and it will distort the image. i’ll recommend using a 14 x 14 frame size.
Now we have the correct size of picture you’ll put it inside the frame, and then close the back of the frame.
Take a Nail buffer and cut it into a small square, and grab a small piece of Ribbon which you’re going to use to tie around the buffer to cover it up, and glue it to the frame.

Now take a white and grey Ribbon tie them together into a bow and glue it onto the Nail Buffer, at this point, the frame is already making sense but hold on, we still have one more step to go, which is the gluing of the cover of perfume. The cover will go right on top of the nail buffer, and there we have a beautiful picture frame.
The Miss Dior Perfume Frame took 15 minutes to arrange, it was so easy to make, literally it was like a 1 + 1 maths!
Flamingo Canvas
These are the supplies you’ll need:
- Canvas 30 cm
- Feathers
- Gold glitter
- Black & White Acrylic Paint
- Silk Material
- E6000 Glue
- Frame hook
- Glue stick
- Glue gun
- Scissors
- Pencil
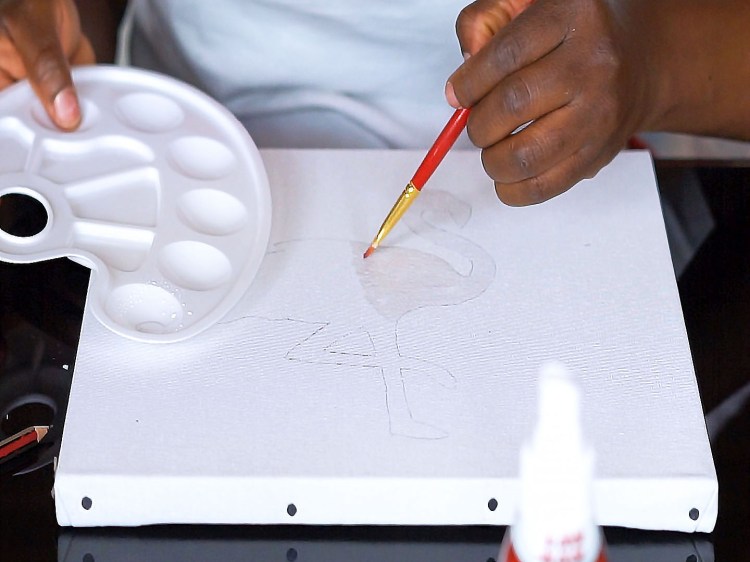
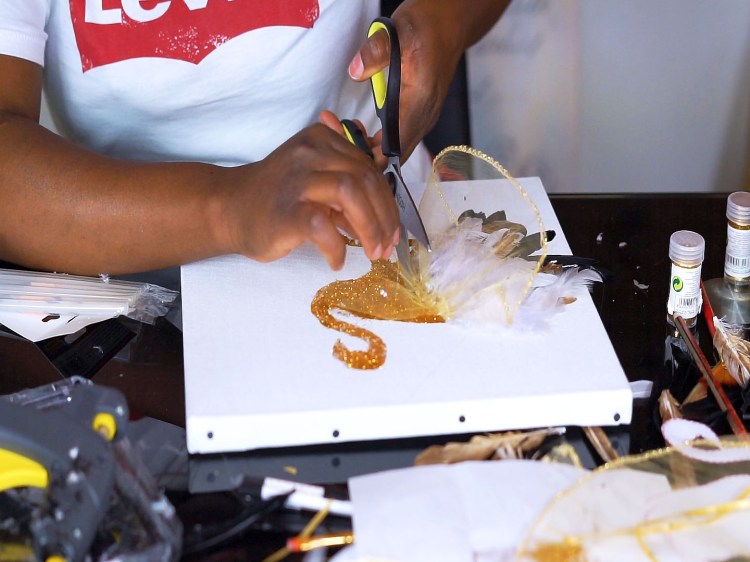
Go to Pinterest and print out a Flamingo picture and carefully cut it out then place it on top of the canvas and start tracing it.
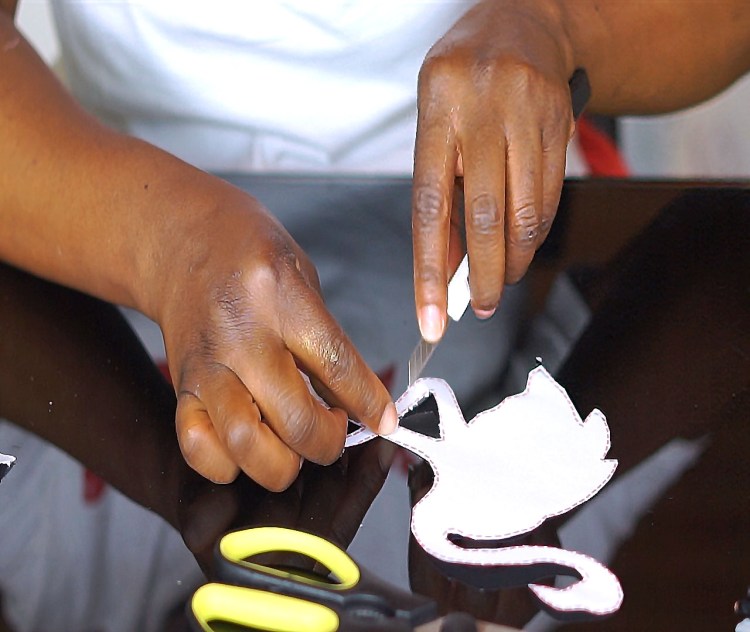
Making the Flamingo Picture Canvas is more like a primary school work where you’re asked to trace an image. Honestly it was like a patience test, so you’ll need to be on the slow and steady mood so that you don’t make any mistake when cutting and tracing.
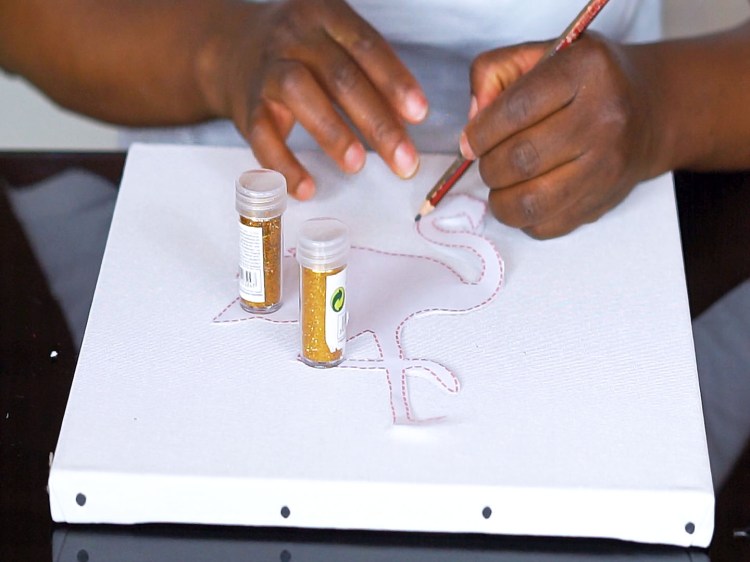
Take an E6000 Glue paint it over the neck, legs and upper body of the Flamingo using a small paint brush. Be precise when applying the glue, apply it inside the image because if it gets above the traced line and you apply the glitter it will disfigure the sharp of the bird.
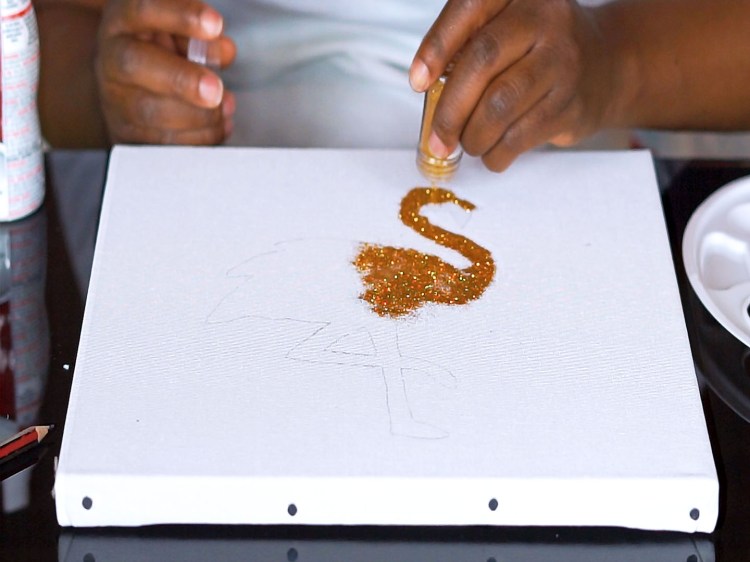
Gently sprinkle the gold glitter till the glue is well covered and let it sit for some minutes and when you feel is dry dust out the excess glitter away, and then move to the final step.
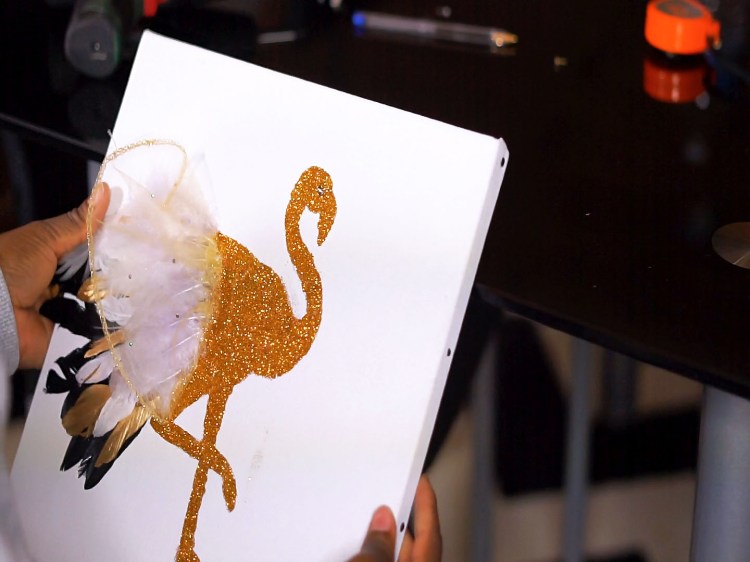
Insert the glue stick into the glue gun and allow it to get really hot, once you’re sure is hot enough then start applying it behind the feathers, try to take them one after the other and apply it in an upright position and then walk your way through to the middle of the Flamingo.
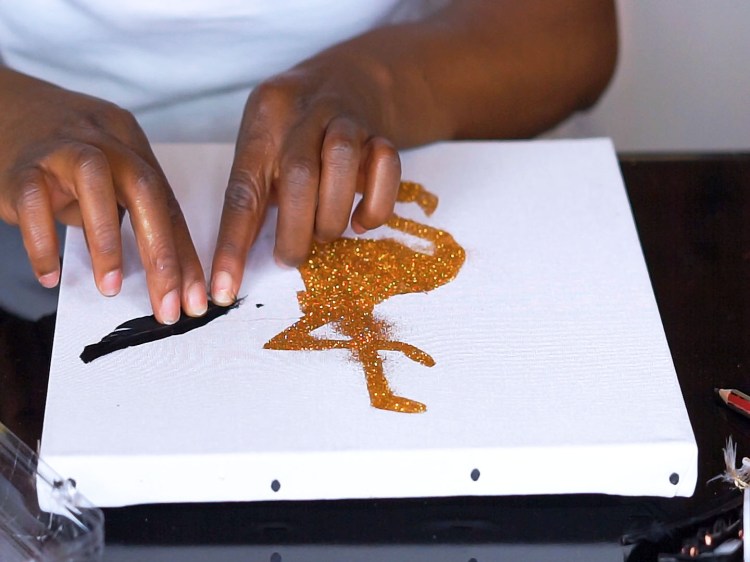
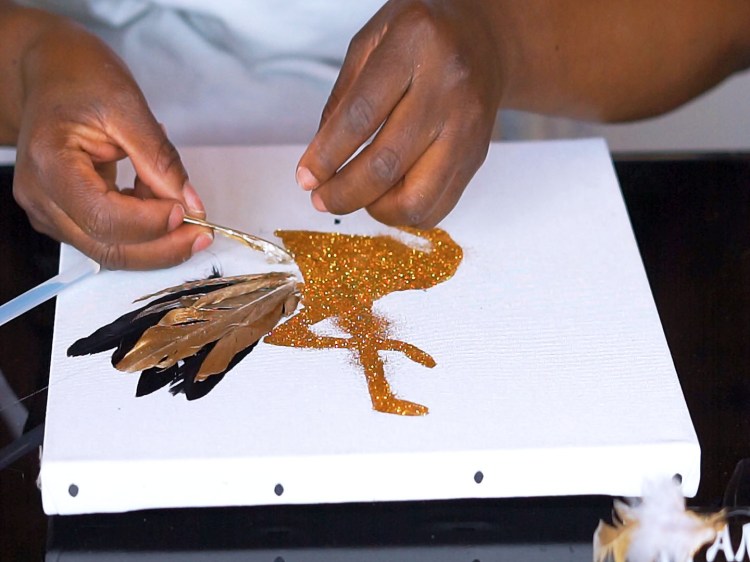
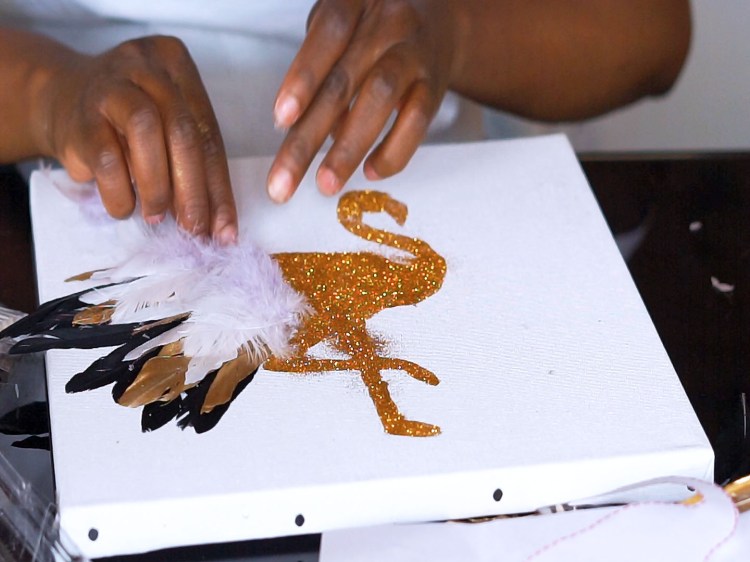
There are 4 layers and 4 different colours of feathers: Black, Gold, White and bright Purple. Apply the feathers evenly and not randomly to avoid bulkiness since we’re going to be adding a golden soft Lace as the finishing touch. Draw an eye and a signature (optional).
All the materials I used didn’t cost much they were affordable and you can find them in any local DIY store around your area or you can just order one of these DIY decor from me lol, Now you’ll say i’m sounding businesslike but is really another way of making life easier for you as the goal here is to create cheap wall arts.
Thank you for visiting, I hope you learnt something and would try it? If so, please let me know how you did it and what you did differently. We can interact on my Social media accounts and here so please drop your Likes and comments below ⬇️. I know you’re all nice followers and I hope you’ll be sharing this post to you friends. Merci beaucoup😘!
👉🏾 YOUTUBE

One thought on “How to Make Simple Decorative Wall Frames for your Home”